


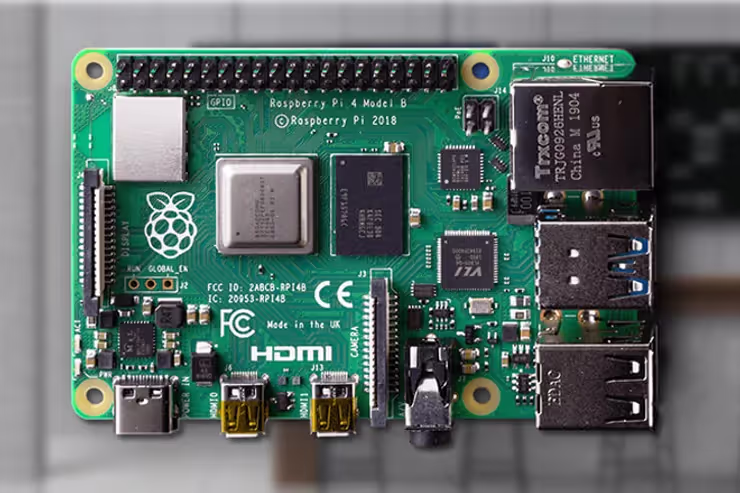
Raspberry Pi Makes for an Excellent Digital Signage Player
However, before you deploy Raspberry Pi in large numbers, here are a few things to consider:
- SD Card Weakness: The Raspberry Pi board is close to industrial-grade and can last for years in harsh environments. However, SD cards are its weak point, even with a good SD card. Fail rates are around 2-3% over the span of 2-3 years. Repeatedly playing playlists, videos, and content loops reads the same files from the SD card, which increases the chance of failure.
- Form Factor: Raspberry Pi are small boxes, and you'll have to think about where to place or hide it by your TV. These are not as easy as players in stick form, like our OptiSigns Android Digital Signage Player.
- Cases & Cooling: Usually, Raspberry Pi deploy with metal, passive cooling cases. These cases are durable and work well, but they mess with Wi-Fi network performance. To avoid this, you’ll need to add an external antenna, which adds extra cost and complexity
Still, Raspberry Pi is a viable choice for digital signage. With a good SD card, a strong network, easy mounting, and accepting a small fail rate, the Raspberry Pi is a great option!
If you prefer a more convenient form factor for easier deployment, we recommend our Pre-Configured Android Player. In comparison, it is more cost effective at $79.99 versus ~$130 for an official Raspberry Pi kit. To avoid SD card failures in mission critical use cases, like playing ads or safety information, we recommend our Pro Player. Its industrial-grade components, including an industrial SSD, is rated to last much longer than an SD card.
If you already have a Raspberry Pi, you can quickly set it up and run OptiSigns on it!
OptiSigns is compatible with and works well on Raspberry Pi! We recommend Raspberry Pi 3B+ and above.
For Raspberry Pi 5, please read this article on setting up Rapsberry Pi for digital signage with OptiSigns. Once finished, you will have a Raspberry Pi that will:
- Auto launch OptiSigns at startup
- Resume and play assigned content, even after a power loss
- Cache downloadable content (images, videos, or documents) even when the internet is down
If you have many Raspberry Pi devices, you can set them up all at once using Remote SSH or USB mass provisioning.
How To Set Up OptiSigns On Raspberry Pi 4 Or Older
Here are 2 options to get OptiSigns running on your devices:
1. Download and use OptiSigns prebuilt image. (You will need a Microsoft Windows machine to unzip, flash SD Card, the zip file does not unzip on MacOS)
2. Install the OptiSigns player on a fresh Raspberry Pi OS.
Option 1: Download And Use OptiSigns Prebuilt Image
Download the latest SD card image here. Unzip the SD card image, then flash it to your SD card (at least 16GB required).
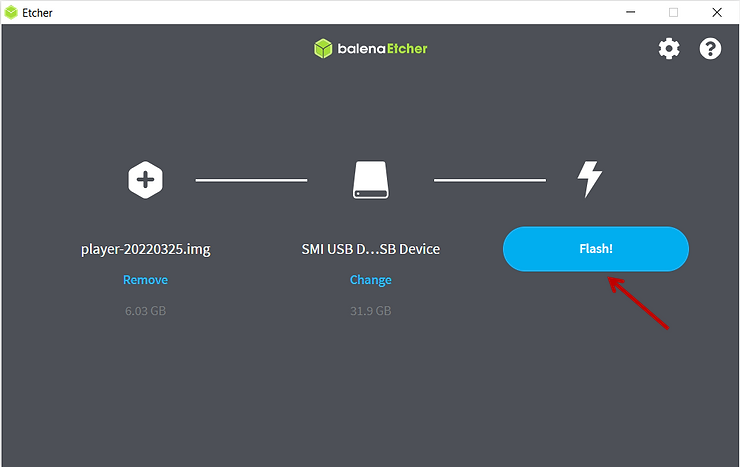
You can use Etcher to flash the image to the SD card. Just select the OptiSigns prebuilt image file as the source, and the SD card as the target, then click Flash.
Turn on your Raspberry Pi after building the SD card. You will see the OptiSigns player launched automatically after the boot.
You now can go to our portal at https://app.optisigns.com/ to pair the screen and start assigning content to it.
For detailed steps, click here.

Option 2: Install The OptiSigns Player On A Fresh Raspberry Pi OS.
Here are the high level steps:
1) Get a fresh image of Raspberry Pi OS and configure your network.
2) Download OptiSigns to your Raspberry Pi OS and run it.
3) Pair your screen with OptiSigns portal and start assigning content to it.
So, let's dive in:
1) Get a Fresh Image of Raspberry Pi OS and Configure Network
First download a fresh image of Raspberry Pi OS. We recommend "Raspberry Pi OS 32bit with desktop and recommended software". This will come with all the software we need, including Chromium.
To read an official guide on how to set up your SD card with Raspberry Pi OS image, click here.
After flashing the SD card and booting up, connect to your network.
2) Download OptiSigns AppImage to Your Raspberry Pi OS and Run it
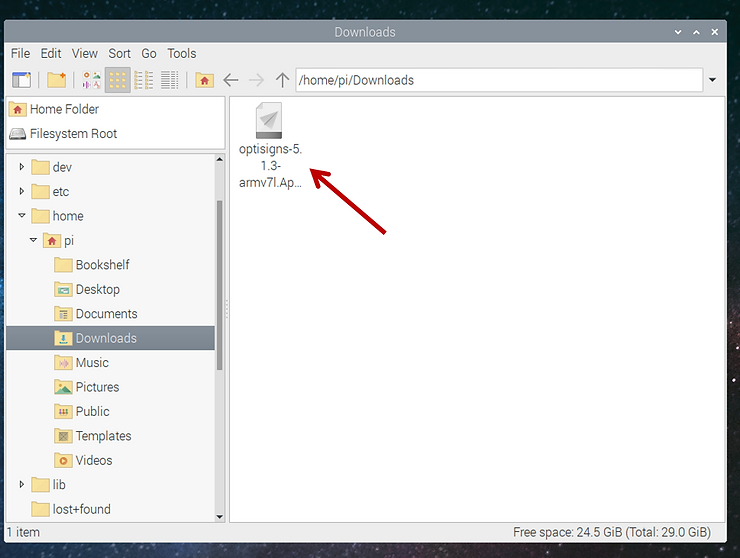
Download OptiSigns AppImage file here.
If you're not familiar with the AppImage file extension, it lets Linux apps run just like opening .exe files on Windows or .app files on Mac.
Once Downloaded, open File Explorer, right click on the downloaded file and select Properties.
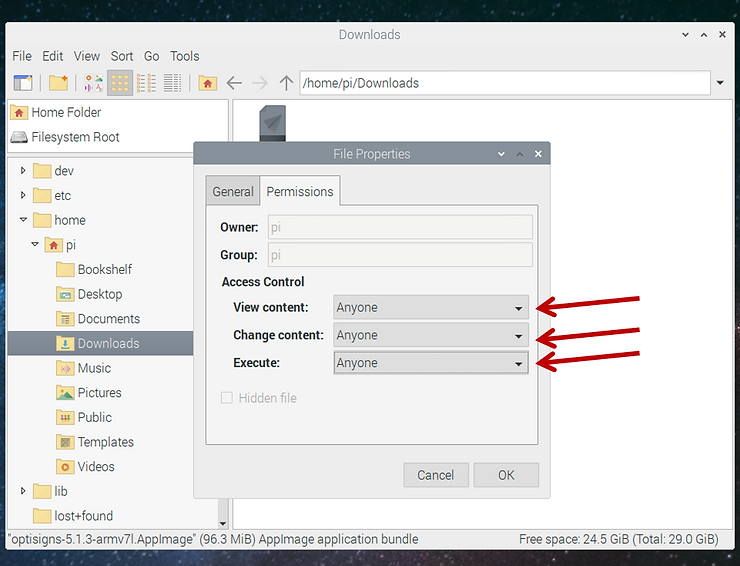
In the Properties box, click the Permissions tab. Then, in the Access Control -> Execute drop down. Select Anyone, then Click OK.
After that, double click the file optisigns.arm7l.AppImage file to execute it. In the pop up, select Execute.

Since the Raspberry Pi is not fast, it may take a few seconds to load. The app will run in full screen mode, and generate a pairing code for you to pair with the app.optisigns.com portal. You can also move the mouse around and see the top 3 buttons to resize, open the sidebar menu or close the app.

On the side menu, you can set orientation and more. The app has AutoStart and Fullscreen on Startup checked as default. So now, next time the Raspberry Pi device starts up, it will automatically run the OptiSigns app.
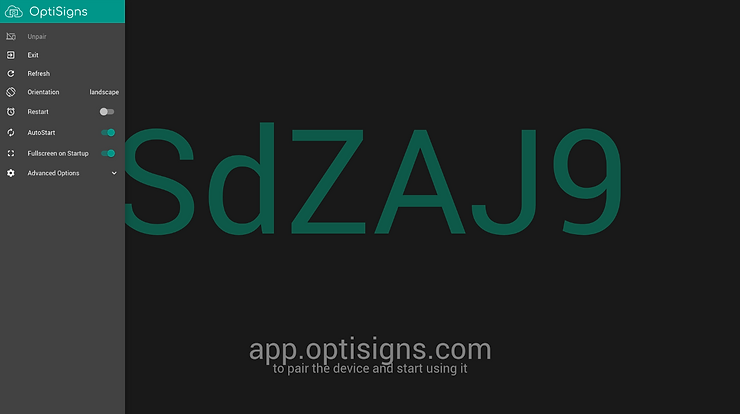
3) Pair Your Screen With OptiSigns Portal and Start Assigning Content to it
You now can go to our portal at https://app.optisigns.com/ to pair the screen and start assigning content to it.
For detailed steps, click here.
Summary:
Now, since your Raspberry Pi image already has Digital Signage player features configured, it will:
- AutoStart up and launch OptiSigns.
- Resume and play assigned content even after losing power.
- Remain active
- Play downloadable content (images, video, document) even when the internet is down.
If you have any questions or need support, please feel free to reach out to us at support@optisigns.com.


